enabling-https-on-apache-with-a-self-signed-certificate
This guide walks you through enabling HTTPS on Apache without a domain name or public IP, using a self-signed SSL certificate. This setup is useful for local development or internal networks where a public certificate is not required.
1 Understanding HTTP vs. HTTPS
By default, Apache serves content over HTTP (port 80), which transfers data in plaintext. This means any data exchanged between the server and the client can be intercepted. HTTPS (port 443) encrypts the connection using SSL/TLS, securing sensitive data such as login credentials.
2 Generate a Self-Signed SSL Certificate
A self-signed certificate allows HTTPS access without requiring a certificate from a Certificate Authority (CA).
Run the following command to create an SSL certificate and private key:
sudo openssl req -x509 -nodes -days 365 -newkey rsa:2048 \
-keyout /etc/ssl/private/selfsigned.key \
-out /etc/ssl/certs/selfsigned.crt- -x509 → Creates an X.509 certificate
- -nodes → No passphrase (Apache requires automatic access)
- -days 365 → Certificate validity (1 year)
- -newkey rsa:2048 → Generates a 2048-bit RSA key
After execution, two files will be generated:
- /etc/ssl/certs/selfsigned.crt (Certificate)
- /etc/ssl/private/selfsigned.key (Private Key)
3 Enable SSL Module in Apache
Apache needs the ssl module to support HTTPS. Enable it using:
sudo a2enmod sslThen restart Apache to apply the changes:
sudo systemctl restart apache24 Create an SSL Virtual Host Configuration
sudo nano /etc/apache2/sites-available/ssl-site.conf- Add the following configuration:
<VirtualHost *:443>
    ServerName 192.168.85.141

    SSLEngine on
    SSLCertificateFile /etc/ssl/certs/selfsigned.crt
    SSLCertificateKeyFile /etc/ssl/private/selfsigned.key

    DocumentRoot /var/www/html

    <Directory /var/www/html>
        AllowOverride All
        Require all granted
    </Directory>

    ErrorLog ${APACHE_LOG_DIR}/error.log
    CustomLog ${APACHE_LOG_DIR}/access.log combined
</VirtualHost>- ServerName 192.168.85.141 → Specifies the server IP
- SSLEngine on → Enables SSL for this virtual host
- SSLCertificateFile → Path to the certificate file
- SSLCertificateKeyFile → Path to the private key
- DocumentRoot → Directory where website files are stored
5 Enable the New SSL Site
Now, enable the new SSL configuration and restart Apache:
sudo a2ensite ssl-site.conf
sudo systemctl restart apache2
6 Test HTTPS Connection
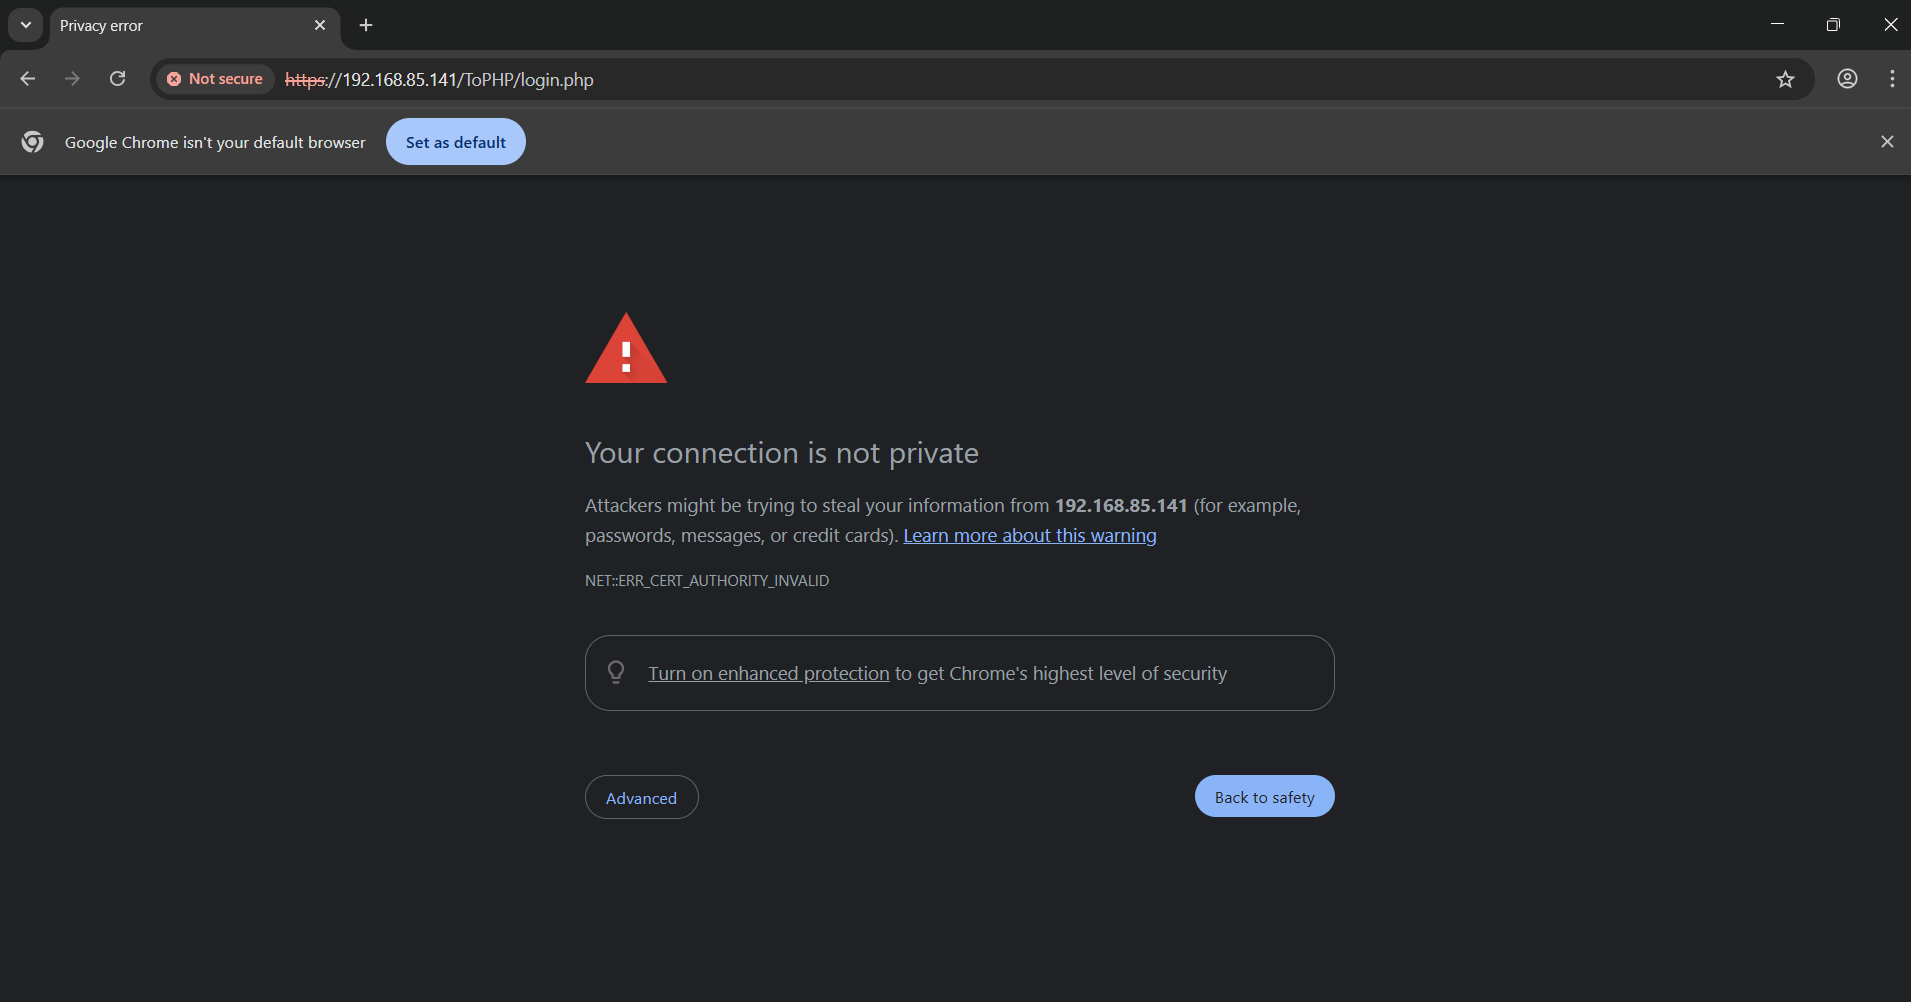
- Open a browser and go to: https://192.168.85.141
- You’ll likely see a browser warning stating that the certificate is not trusted. This happens because the certificate is self-signed and not issued by a recognized Certificate Authority.
- Click Advanced → Proceed to access the site.
7 Redirect HTTP to HTTPS (Optional)
To force all HTTP requests to be redirected to HTTPS, modify the Apache default configuration file:
sudo nano /etc/apache2/sites-available/000-default.confAdd the following line inside the <VirtualHost *:80> block:
Redirect "/" "https://192.168.85.141/"Save and restart Apache:
sudo systemctl restart apache2Now, all HTTP traffic will automatically be redirected to HTTPS.
8 Verify SSL is Working
To check if Apache is serving HTTPS properly, use:
sudo apachectl -SIt should list your SSL-enabled virtual host.
You can also test the SSL connection using openssl:
openssl s_client -connect localhost:443If the connection is successful, the SSL certificate details will be displayed.
You can also try and make a packet capture and check for encrypted traffic.
